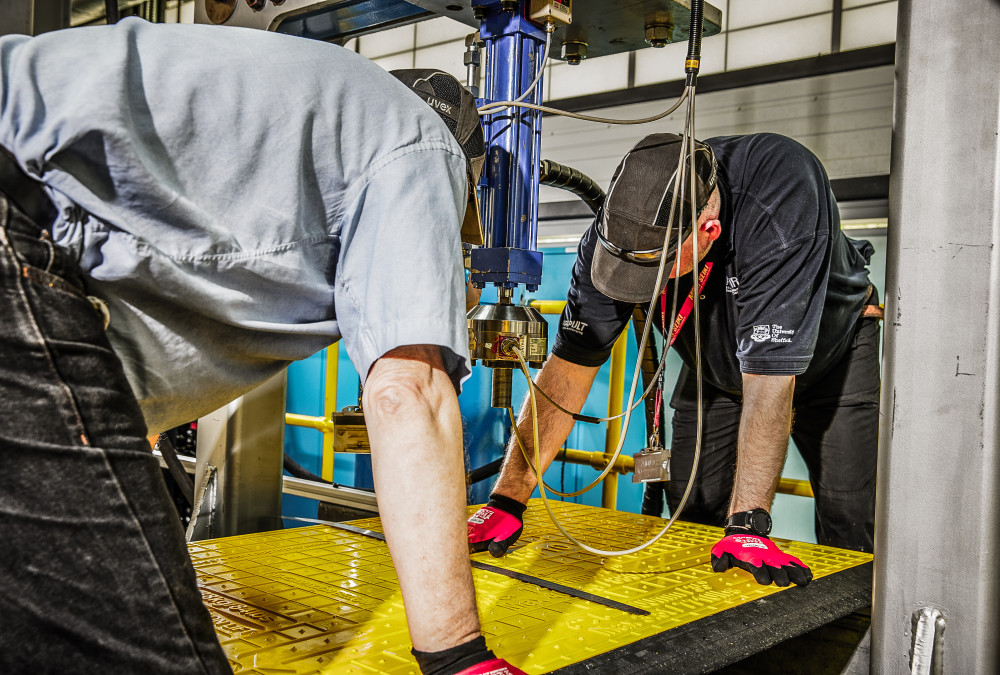
How to Install the LowPro 23/05

The LowPro 23/05 is a lightweight composite road plate and is an easy-to-install alternative to steel road plates. Installing the LowPro 23/05 road plate is a simple and straightforward process which takes just two people and can be done by hand. Following our instructions carefully will allow you to cover a 6m road in just 10 minutes.
Before you start
Before you start it’s important to check the condition of the road plates along with the area you plan on installing the plates. Our simple checklist includes everything you need to look out for in a visual check of the product:
- Is the underside of the yellow section flat? If no: Do not use the product.
- Is the top of the yellow part free from cracks? If no: Do not use the product.
- Is the underside of the yellow part free from cracks? If no: Do not use the product.
- Are all bolts on the top surface tight? If no: Tighten the bolts.
- Are all bolts on the underside tight? If no: Tighten the bolts.
- Are all bolts in good condition? If no: Order replacement bolts.
- Is the top surface of the product clean? If no: Brush product clean.
- Are the drop pins free of damage? If no: Order replacement drop pins.
- Are the drop pins dropping down freely under gravity? If no: Check for debris that may prevent drop pins from moving.
Following your check of the product, if everything is in good condition you’re now ready to proceed with the installation instructions.
Step 1: Assessment

Measure the trench to ensure the width is less than 1200mm or 4 feet and assess the trench stability before proceeding with the installation process.
Step 2: Prepare to lift with two people

Ensure two people are involved in the installation process at all times. Use the EasiLift handles, to insert them into the holes at each end of the inner pieces.
Step 3: Lift with the knees

Make sure to bend at the knees in line with best practice, ensuring you lift safely.
Step 4: Position the first inner piece


Use the centreline as a guide to position the first inner piece in place.
Step 5: Check the overlap

Check there is a minimum of 530mm or 21” for each piece of the 23/05.
Step 6: Add the next piece into position

Slot the next piece into position so that the connectors fit into the slots. When the connectors are engaged, gently lower the piece into place.
Step 7: Repeat

Simply repeat the process until the trench has been fully covered with inner pieces.
Step 8: Connect the end piece

Once the trench has been fully covered, connect the end piece if required. It’s light enough to be installed without the EasiLift handles. However, it’s important to remember that the end piece is not load bearing and must be entirely positioned on solid ground.

Why choose the LowPro 23/05?
The LowPro 23/05 is the ideal alternative for steel road plates as it is simple to install and remove, making it the ideal choice for temporary applications or when frequent access to the trench is required. It’s lightweight design means it can be transported easily, reducing the need for heavy machinery or specialised equipment to install.
The LowPro 23/05 provides reliable and durable coverage for trenches and excavations, making it the perfect choice for areas where there is vehicle or pedestrian traffic.
Want to know more about how the LowPro 23/05 compares to Steel Road Plates? Read our case study here. Still want to know more? Check out the full LowPro 23/05 system or get in touch with our helpful team today.
Related News

What happens on a product training day?
Here at Oxford Plastics our knowledgeable team is on hand to provide comprehensive training so that you can be confident in c...

Oxford Plastics Innovation for HAUC Compliant Products
Here at Oxford Plastics, our products are manufactured to the highest possible standards so that they not only comply with HA...

Health and Safety Calendar 2024
Safety has been at the core of innovation at Oxford Plastics for the last 35 years, and as we enter 2024, we’ve compile...